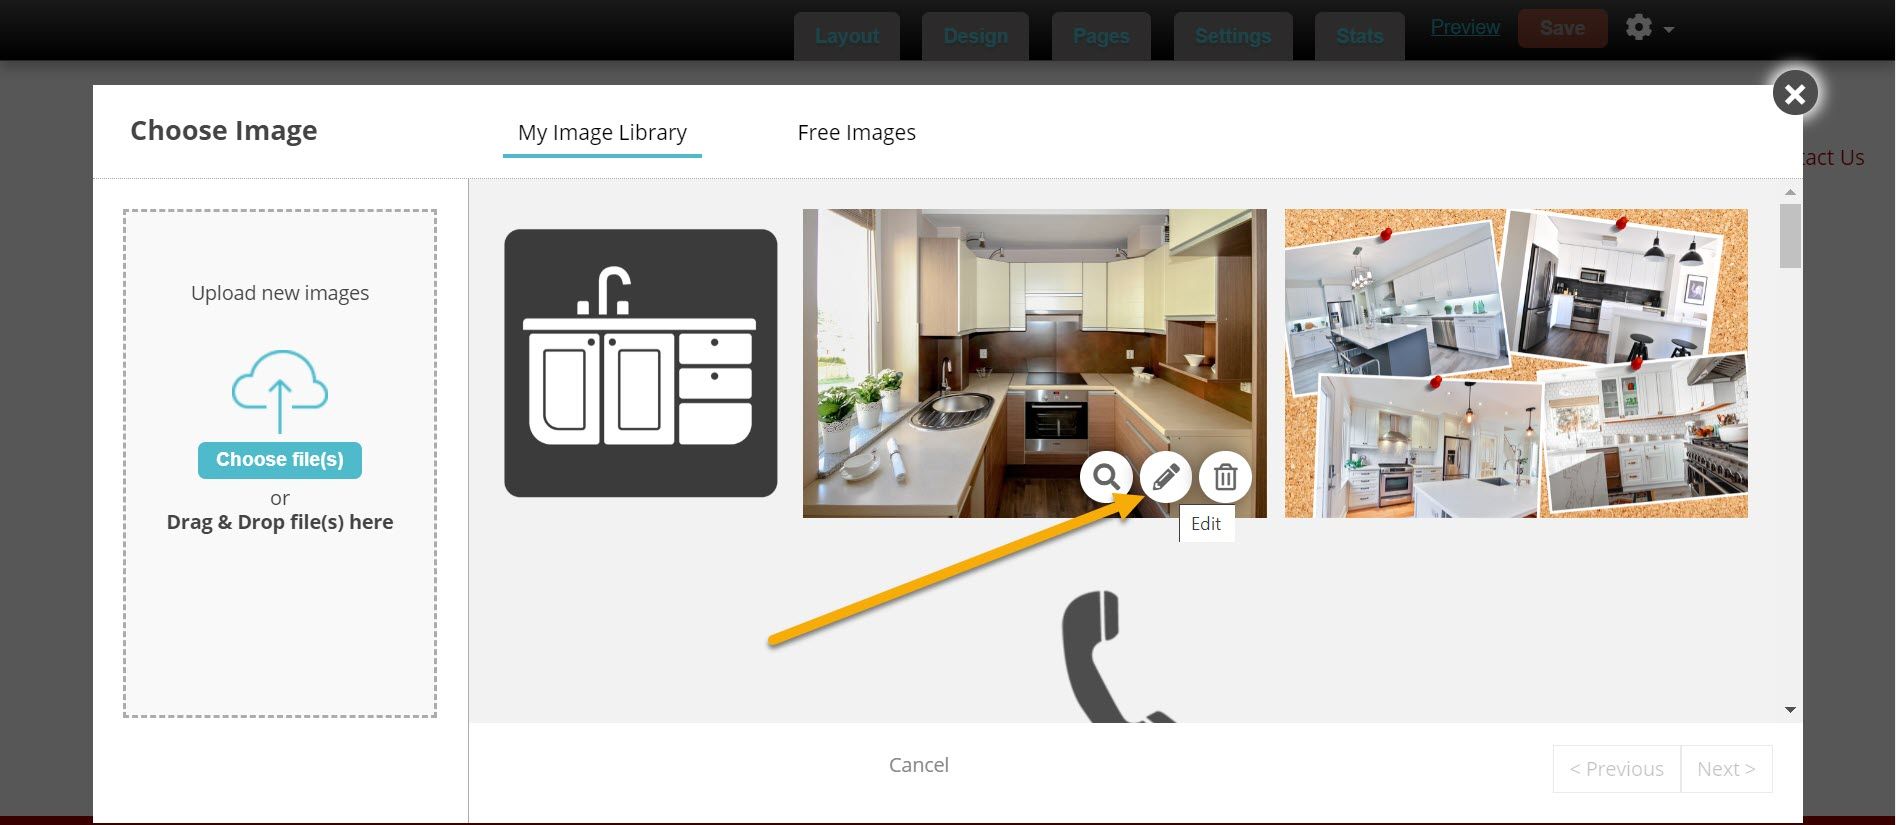
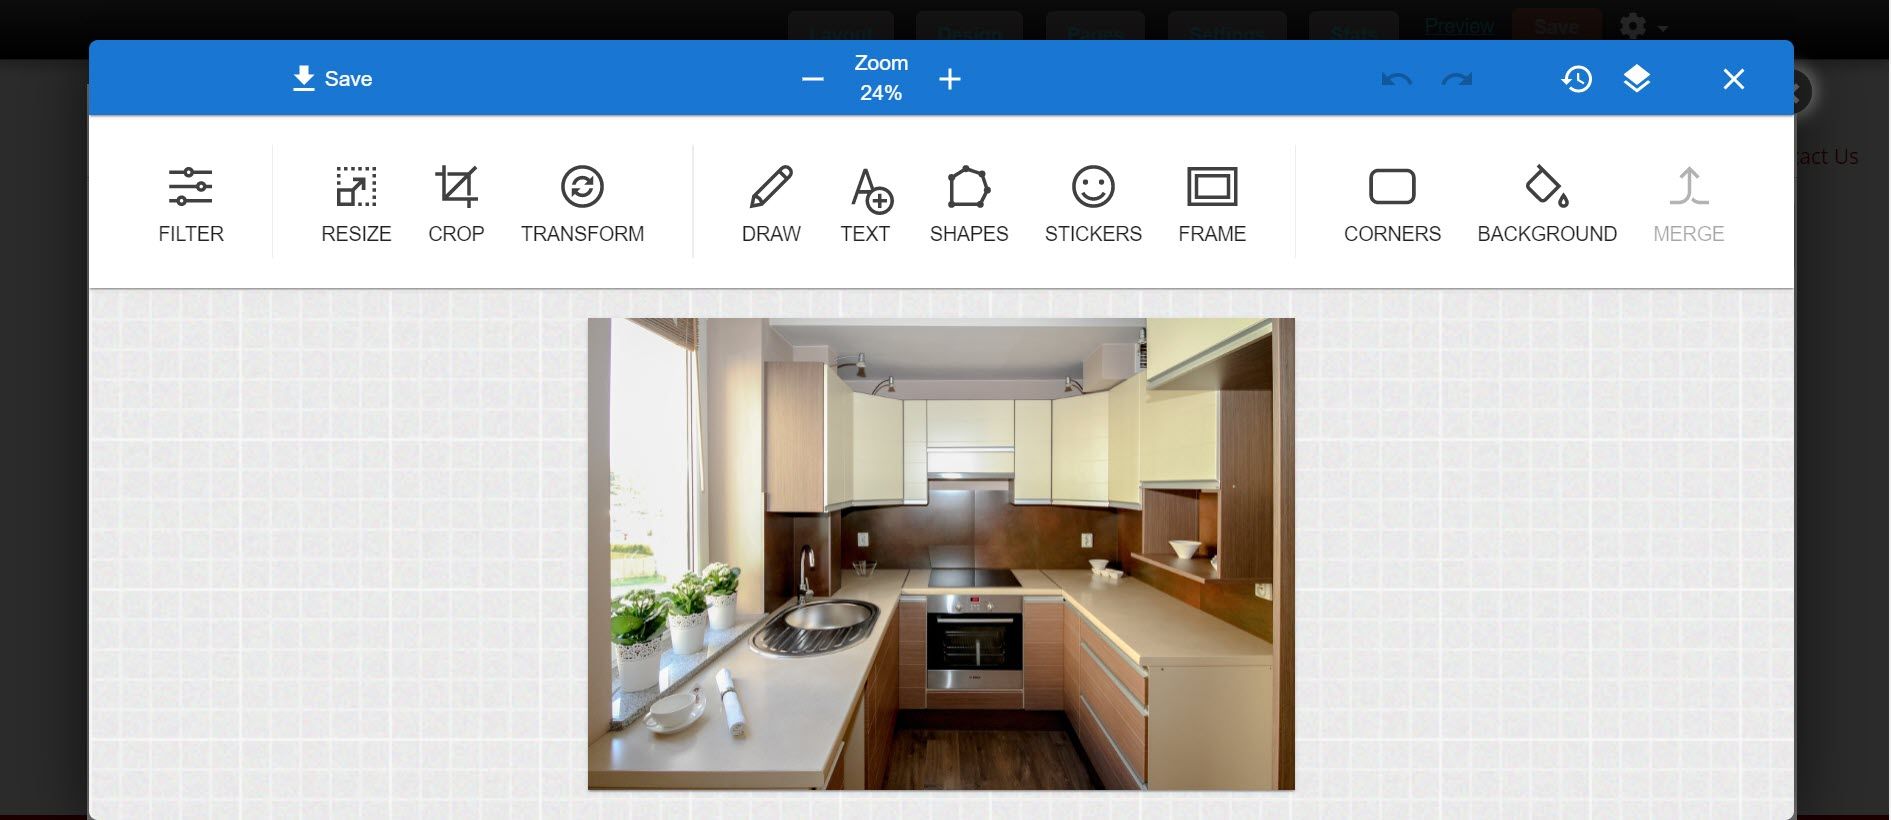
Editing OptionsZoom: Zoom in or out to change your view of the image.
Undo/Redo arrow icons: Undo or Redo the last edits made to the image.
Version history clock icon: Restore the image back to a previous version of itself.
Filter: Change the color tone of the entire image.
Resize: Change the size of the image in pixels or by percentage.
Crop: Select a portion of the image to create a new image.
Transform: Invert or rotate the image.
Draw: Use your cursor to draw on the image.
Text: Add text to the image.
Shapes: Add common shapes to the image.
Stickers: Add small graphics to the image.
Frame: Put a frame around the outside of the image.
Corners: Change the corners of the image from square to rounded.
Background: Add background color to an image with a transparent background.
Merge: Permanently adds changes you make to the image.
Important Notes
- Click "Apply" to save each change you've made.
- Click "Save" to save all of the changes you've applied, then wait for SiteSwan to create the new image.
- After saving, a new image will be created and placed on the top row of the Image Library.
- For best results upload images that are 1 MB or less.